If you're running an online store, connecting a product catalog to Facebook is a game-changer. It allows you to showcase your products directly on the Facebook app, Instagram, and other platforms under Meta's umbrella. This not only improves visibility but also streamlines ad targeting through dynamic ads. The best part? If you're a Development Bucket user, the process is straightforward thanks to their provided feed URL—https://yourdomain.com/feeds/facebook-catalogs.xml.
By the end of this guide, you'll know how to use this URL to integrate your product catalog seamlessly with Facebook, enabling you to sell more effectively online. Let's get started!
What Is Facebook Product Catalog, and Why Should You Use It?
A Facebook Product Catalog is essentially a container that holds information about all the products you want to advertise or showcase on Facebook and Instagram. It enables features like dynamic ads, Instagram Shops, Facebook Shops, and product retargeting—all powerful tools for increasing sales.
Benefits of Connecting Your Product Catalog to Facebook:
- Dynamic Ads: Automatically promote the right products to the right people based on behaviors like a previous visit to your store.
- Seamless Shopping Experience: Showcase products in Facebook and Instagram Shops, giving users the option to purchase directly.
- Product Retargeting: Remind visitors of products they've viewed or added to their cart.
- Improved Ads Personalization: Create tailored advertisements based on your product details.
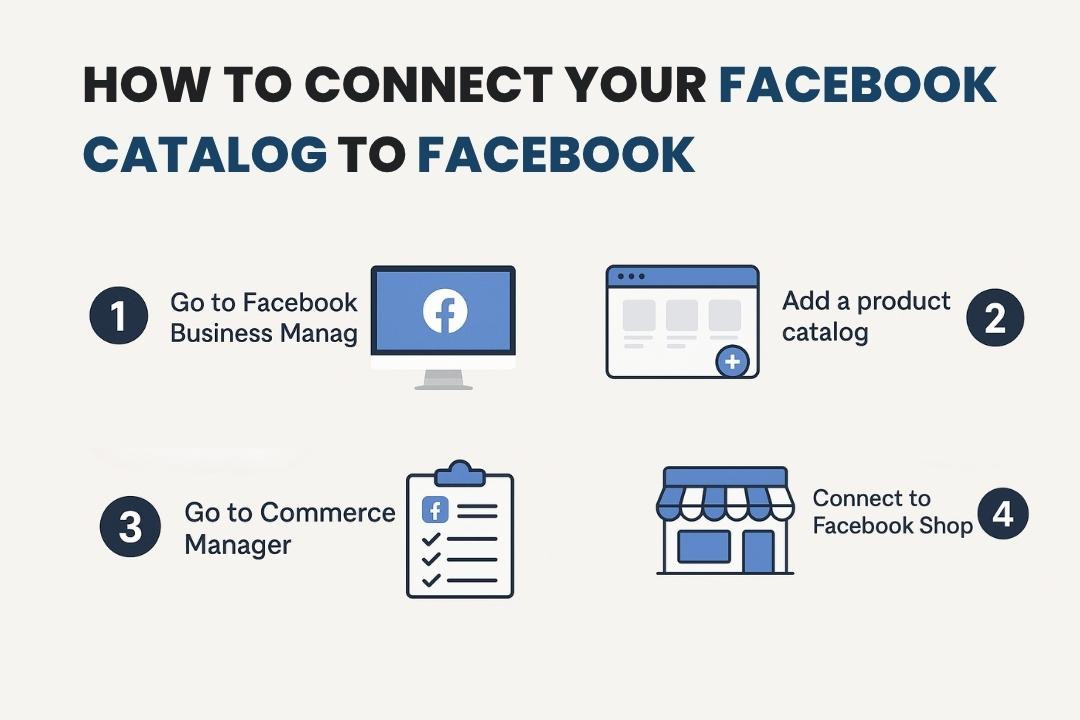
Step 1: Set Up a Facebook Business Manager Account
To connect a product catalog, you need access to Facebook's Business Manager. It acts as a centralized hub for all your Facebook business tools.
Steps to Set Up Facebook Business Manager:
- Go to Business Manager:
Visit Facebook Business Manager.
- Screenshot: Business Manager home page
- Log in or Sign Up:
If you already have an account, log in. Otherwise, click on Create Account, enter your business details, and follow the prompts to verify your account.
- Screenshot: Setup process
- Add Your Business Details:
Go to Business Settings and make sure your business information is accurate.
Step 2: Create a Catalog in Facebook Commerce Manager
A product catalog is managed through Facebook Commerce Manager, where you'll store all your product details.
Steps to Create a Catalog:
- Navigate to Commerce Manager:
Go to Commerce Manager.
- Screenshot: Commerce Manager dashboard
- Choose Catalog Type:
Select E-commerce (Products) as the catalog type and click Next.
- Screenshot: Catalog type selection
- Assign Your Business:
If managing multiple businesses, choose the correct one, name your catalog (e.g., "Store Name Catalog"), and click Create Catalog.
Step 3: Submit the Feed URL from Development Bucket
Now it’s time to upload your product details using the feed URL provided by Development Bucket: https://yourdomain.com/feeds/facebook-catalogs.xml.
Steps to Add the Feed URL:
- Access Data Sources:
Go to Commerce Manager. Under your newly created catalog, select Data Sources from the left-hand menu.
- Screenshot: Data Sources section
- Add Products Using a Data Feed:
Click Add Items and choose Use Data Feeds as the upload method.
- Screenshot: Data feed selection
- Enter the Feed URL:
Paste https://yourdomain.com/feeds/facebook-catalogs.xml in the feed URL field. Choose a daily schedule to keep your products in sync.
- Screenshot: Feed URL submission page
- Complete Setup:
Click Start Upload. Facebook will validate your feed and import your product information.
Step 4: Verify and Publish
After submitting the feed, it's essential to ensure everything is functioning correctly.
Steps to Verify Integration:
- Check Items in Commerce Manager:
Ensure all products have been uploaded. Facebook will show errors if data is missing.
- Screenshot: Successful product upload summary
- Publish Your Catalog:
Click on Settings and mark your catalog as Active.
- Test the Integration:
Use Facebook Catalog Debugger to preview how your products appear.
- Screenshot: Debugger output
- Set Up Pixel and Ads:
Link your catalog to a Facebook Pixel in Business Manager for dynamic ads and real-time event tracking.
- Screenshot: Pixel linking process
Step 5: Create Ads or Enable Shops
Steps to Use the Catalog:
- Enable Facebook and Instagram Shops:
Go to Commerce Manager > Shops Integration and follow the onboarding process.
- Run Dynamic Product Ads:
Go to Ads Manager and create campaigns using your catalog. Choose Sales or Conversions as your objective and enable dynamic ads.
- Screenshot: Dynamic ad setup
Common Issues and Troubleshooting
- Feed URL Errors: Ensure
https://yourdomain.com/feeds/facebook-catalogs.xml is publicly accessible and formatted correctly.
- Missing Data Points: Fill in required fields like product title, description, image URL, price, and availability.
- Sync Failures: Check sync schedule and confirm there’s no server downtime on Development Bucket.
Final Thoughts
Connecting your product catalog to Facebook via Development Bucket is an essential step for modern retailers. By submitting the feed URL and syncing product details, you can unlock powerful selling tools like Facebook Shops and dynamic ads. This seamless setup not only saves time but also enhances your ability to reach and convert customers.
Start today by integrating your store and watch your online presence grow!