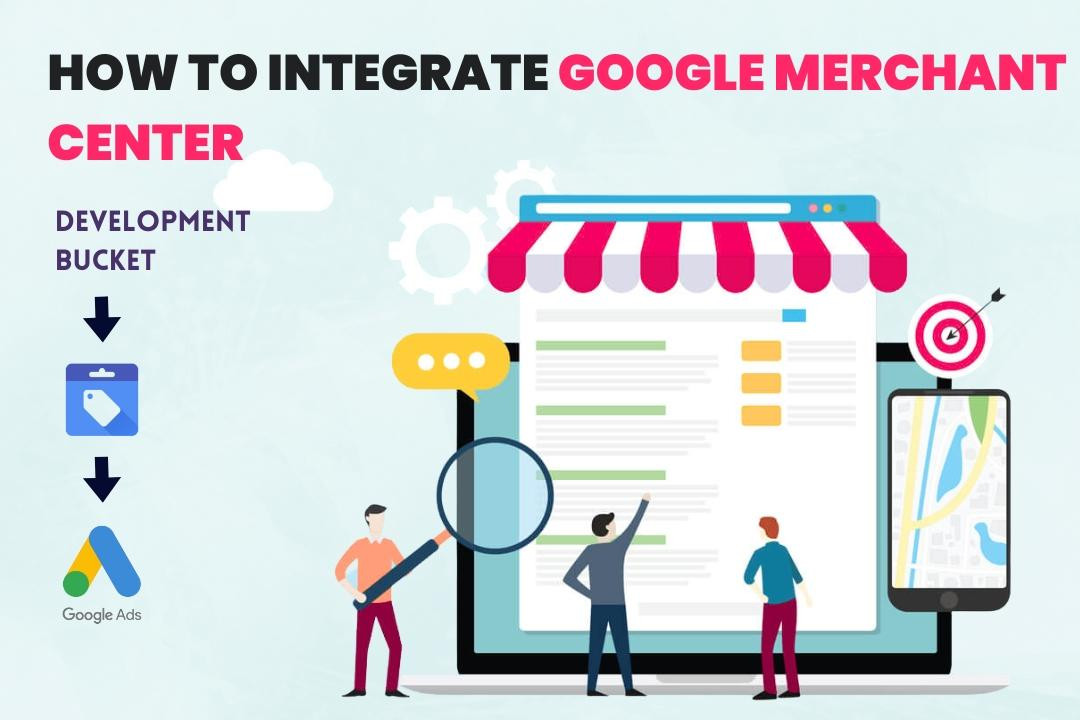
How to Integrate Google Merchant Center
01 May 2025
Connecting your Development Bucket store to Google Merchant Center is a powerful way to showcase your products across Google’s shopping ecosystem. Below is a detailed, step-by-step process covering every aspect of integration—from account creation and verification, to feed submission, diagnostics, and the benefits you’ll enjoy.
1. What is Google Merchant Center and Why Integrate It?
Google Merchant Center (GMC) is Google’s platform for uploading and managing your online store’s product data so it can appear on Google Shopping, Search, and other Google services. Integrating GMC allows your products to reach millions of potential buyers actively searching for what you offer.
Key Benefits:
- Increased visibility on Google Shopping and Search
- Automated, always up-to-date product listings
- Access to Google Ads and dynamic remarketing opportunities
- Powerful analytics and performance insights
2. Sign Up for Google Merchant Center
Go to the Google Merchant Center:
Visit Google Merchant Center.
Sign in or Create a Google Account:
Use the Google Account you want to manage your store with. If you don’t have one, you’ll need to create it.
Start Your Merchant Center Account:
- Click “Get Started.”
- Enter your business information: country, business name, and time zone.
- Agree to the Terms of Service.
3. Verify and Claim Your Website
Verifying your website establishes your ownership in Google’s eyes, a requirement before products will display.
Enter Your Website URL:
- In your Merchant Center dashboard, go to “Business information” in the left sidebar, then open the “Website” tab.
- Enter your full website URL (e.g., https://yourdomain.com/).
Choose a Verification Method:
a. HTML Tag Method (recommended for Development Bucket):
- Select “Add an HTML tag to your homepage’s <head> section.”
- Copy the meta tag provided by Google.
- In your Development Bucket admin panel, locate “Custom Head Tags” (typically found under Settings > Advanced Settings).
- Paste the meta tag there and save changes.
- Return to Merchant Center and click “Verify URL.”
b. Alternative Verification:
You may also verify through Google Analytics or Tag Manager if you use those services.
Claim the Website:
After successful verification, click “Claim URL” to finish linking your site.
4. Submit Your Product Feed URL
Development Bucket generates an automatic product feed for Google Merchant Center at:
https://yourdomain.com/feeds/google-merchant-center.xml
This special XML file contains all your product info in a format Google can read.
Add a Feed in Google Merchant Center:
- From the sidebar, go to “Products” > “Feeds.”
- Click the blue “+” button to add a new feed.
- Choose your target country and language.
Feed Setup:
- Select “Scheduled fetch” as the method.
- Enter a name for your feed (e.g., “Development Bucket Products”).
- For feed URL, paste:
https://yourdomain.com/feeds/google-merchant-center.xml - Choose a fetch frequency (e.g., daily) and set a time.
Validate and Fetch:
- Click “Create Feed.”
- Google will attempt to fetch your feed and display any formatting warnings or errors.
5. Review and Resolve Common Issues
Once your feed is submitted, Google will process your products. If there are issues, you’ll need to review and fix them to ensure your products appear in Shopping results.
Common Issues & Solutions:
- Missing Product Identifiers: Ensure your products have unique GTINs, MPNs, or brand fields filled out.
- Incorrect Formatting: Follow Google’s formatting guidelines for required fields like price, availability, title, and description.
- Policy Violations: Double-check your products comply with Google Shopping policies.
You can review all feed and product errors under “Products > Diagnostics” in Merchant Center, which provides detailed explanations and solutions for each issue. Make necessary adjustments in your Development Bucket platform and re-fetch the feed as needed.
6. Approval, Ongoing Sync, and Going Live
After resolving all errors and warnings, Google will approve your feed. Your products will then become live and eligible for Google Shopping, free listings, and ads. Because you’ve set up a scheduled fetch, any future changes in Development Bucket (adding, updating, or removing products) will automatically sync to Google Merchant Center.
Conclusion
Integrating Google Merchant Center with your Development Bucket store expands your product reach, boosts visibility, and helps you tap into the vast audience of Google Search and Shopping. By using your exclusive product feed URL (https://yourdomain.com/feeds/google-merchant-center.xml), the integration process is quick and keeps your catalog always up to date with zero manual effort.
With this step-by-step approach—signing up for Merchant Center, verifying your site, submitting your feed, and troubleshooting as needed—you’ll unlock powerful marketing features that can help scale your business and drive more sales.
Take the step today and watch your products get discovered by more customers than ever before!

