Integrating a payment gateway is a crucial step for any e-commerce website or online business. Razorpay, one of the most popular payment gateways, simplifies accepting online payments with robust security and a seamless user experience. For users of the Development Bucket platform, integrating Razorpay is a straightforward process. This guide will walk you through everything—right from signing up on Razorpay to configuring it in your Development Bucket admin panel.
Follow this step-by-step tutorial to enable smooth and secure payment transactions on your website.
What Is Razorpay, and Why Should You Use It?
Razorpay is a leading payment gateway that allows businesses to accept payments via various methods, including credit/debit cards, UPI, wallets, and bank transfers. It's known for its ease of use, advanced features, and developer-friendly API, making it ideal for businesses of all sizes.
Benefits of Razorpay:
- Multiple Payment Options: Supports a wide range of payment methods.
- Instant Settlements: Quick access to funds for better cash flow.
- Seamless Integration: Simple integration process for websites and apps.
- Robust Security: PCI DSS compliance ensures your transactions are secure.
- Real-Time Updates: Monitor transactions and settlements via live dashboards.
By integrating Razorpay with your website, you'll enhance the payment experience for your customers and improve your overall business efficiency.
Step-by-Step Guide to Integrate Razorpay Payment Gateway
This section outlines the exact steps to integrate Razorpay into your website using the Development Bucket platform.
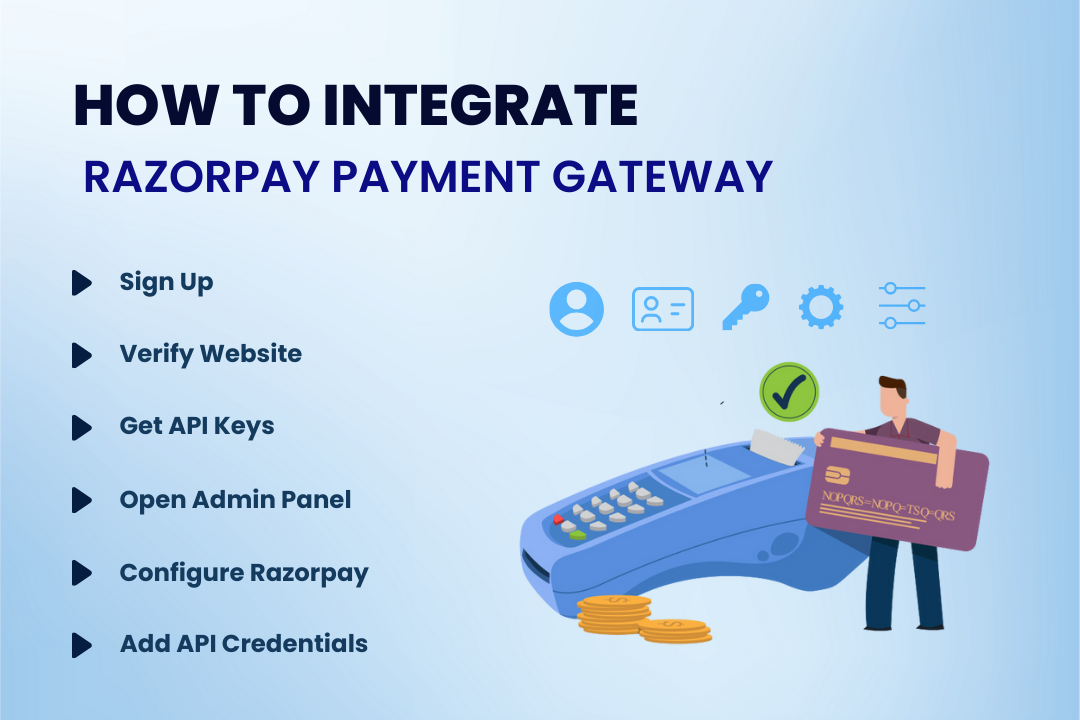
Step 1: Sign Up on Razorpay
- Go to the Razorpay website.
- Click on the "Sign Up" button in the top-right corner.
- Fill in your email address, set a secure password, and create your account.
- Verify your email address via the confirmation email sent by Razorpay.
Step 2: Verify Your Website on Razorpay
- Log in to your Razorpay account.
- Complete the Know Your Customer (KYC) verification process.
- Provide details such as business name, contact details, bank information, and website URL.
- Upload the required documents for verification (e.g., GST certificate, business registration certificate).
- Wait for Razorpay to review and approve your website. You’ll receive a confirmation email once the verification is complete.
Step 3: Retrieve Your Razorpay API Keys
- After KYC approval, log in to your Razorpay dashboard.
- Navigate to the API Keys section (usually found under "Settings" or "Developer Tools").
- Click on the "Generate API Key" button.
- Copy the API Key and API Secret. Save these securely, as they will be used during the integration process.
Step 4: Access the Development Bucket Admin Panel
- Log in to the Development Bucket platform.
- Navigate to your website’s Admin Dashboard.
- On the left-hand menu, locate the Settings option (4th option from the top) and click on it.
Step 5: Configure Razorpay in Development Bucket
- Once in the Settings page, scroll down to locate Shop Settings.
- Under Shop Settings, click on the Payments option (5th option in the list).
- On the Payments page, scroll up until you find Razorpay Gateway (4th option in the list).
- To the right of Razorpay Gateway, click on the Settings box. This will open a dialog box with fields to configure Razorpay.
Step 6: Enter Razorpay API Credentials
- The dialog box will display the following fields:
- Gateway Title for Customer (Optional): You can leave this as the default title or customize it.
- API Key (Required): Paste the API Key you copied from the Razorpay dashboard.
- API Secret (Required): Paste the API Secret from the Razorpay dashboard.
- Embedded Code on Checkout (Optional): Use this field if you have any custom Razorpay checkout code.
- Fill in the API Key and API Secret fields.
- Click on the Submit button to save the configuration.
Step 7: Test and Activate Your Payment Gateway
- Perform a test transaction to ensure that everything is working correctly. Razorpay provides a sandbox mode for testing purposes.
- Once satisfied with the setup, switch to live mode in the Razorpay dashboard.
- Razorpay is now successfully integrated into your website, allowing customers to complete payments securely.
Common Errors and Troubleshooting
Here are some common issues you might encounter during the integration process and how to resolve them:
- API Key/Secret Not Working:
- Double-check that the API Key and API Secret are copied correctly from the Razorpay dashboard.
- Ensure you're using credentials for the correct mode—test or live.
- Payment Gateway Not Appearing on Checkout:
- Verify that the Razorpay Gateway has been enabled in the Development Bucket settings.
- Clear your website’s cache and refresh the page.
- KYC Verification Delays:
- Reach out to Razorpay’s support team for assistance in case of prolonged approval times.
Why Choose Razorpay for Your Business?
Razorpay is a complete solution for businesses seeking secure, reliable, and user-friendly payment processing. Whether you’re just getting started or scaling your operations, its robust platform, versatile payment options, and advanced features make it a top choice.
By pairing Razorpay with Development Bucket, you simplify not only the integration process but also ongoing management—allowing you to focus on growing your business.
Begin integrating Razorpay today to offer your customers a smooth, secure, and efficient payment experience. With this setup, you’ll be well-equipped to support your business growth and deliver exceptional service online.