Home
/
Blog /
Print on Demand for Beginners: Step-by-Step Setup on Shopify
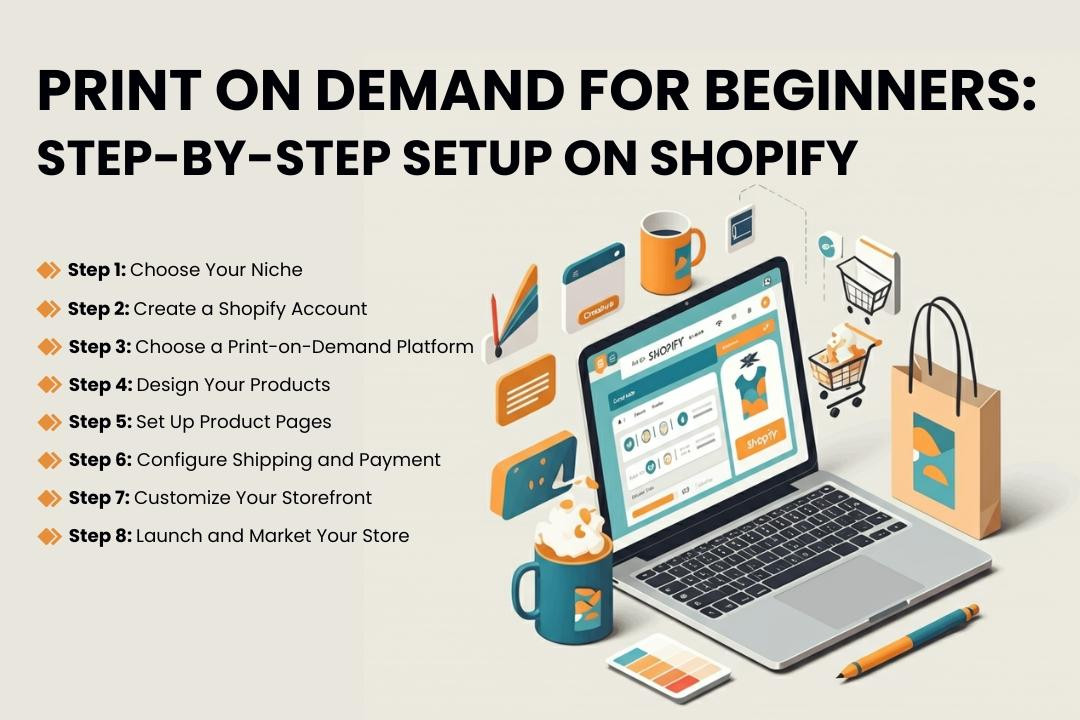
Print on Demand for Beginners: Step-by-Step Setup on Shopify
23 Jun 2025
Introduction
Starting a print-on-demand (POD) store is one of the easiest ways to step into the world of e-commerce. With no need for upfront inventory or a physical stockroom, POD makes it easy to test the waters of online business without major risk. Shopify, a user-friendly e-commerce platform, simplifies this even further with its seamless integrations and tools.
Whether you're new to online business or exploring POD as a side hustle, this guide will take you through a step-by-step process to create your Shopify print-on-demand store from scratch. From niche selection to store launch, you're about to gain all the insights you need to hit the ground running.
Step 1: Choose Your Niche
Before building your store, it’s crucial to decide on a niche. A niche helps define the products you’ll sell, the audience you’ll target, and ultimately differentiates your store.
How to Choose Your Niche
Start with your passions: Selling products connected to your hobbies or interests makes the process more exciting.
Validate demand: Use tools like Google Trends, Etsy, or Pinterest to gauge interest in your chosen niche.
Get specific: Instead of general themes like “fitness,” try niches like “yoga apparel for beginners.”
Tip: Analyze competitors to identify trends and areas where you can stand out.
Step 2: Create a Shopify Account
Shopify is the platform that will host your store. It’s beginner-friendly, affordable, and packed with features for easy setup.