19 May 2025
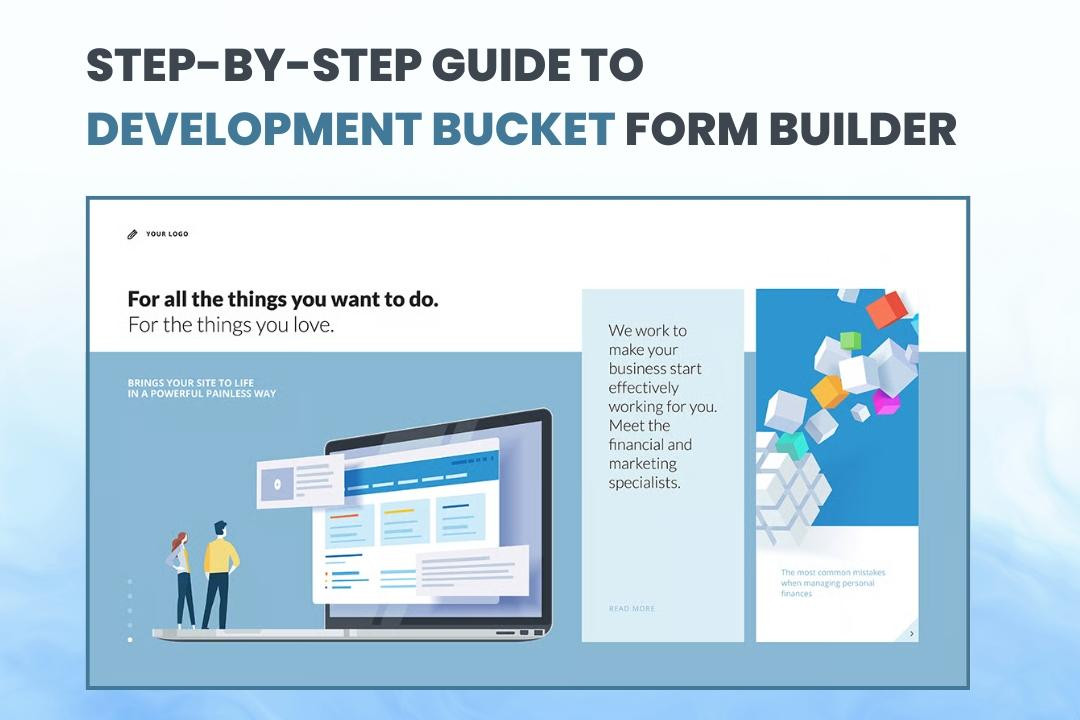
Building forms for your website can often feel overwhelming, especially when you’re just starting out. The DevelopmentBucket Form Builder makes the process smooth and intuitive. Whether you need a contact form for customer inquiries or something more complex, this guide will help you create and customize forms with ease.
Start by logging into the admin panel of your DevelopmentBucket account. Once inside, look to the left sidebar for the "Website" option. You’ll find it listed as the third option in the menu.
*Insert image showing the sidebar with the Website option highlighted*
Clicking on this will reveal a dropdown menu.
From the dropdown menu, you’ll see three options:
Click on "Pages" to open a list of all the pages on your website. Choose the page where you want to add the form. For this guide, we’ll use the Home Page as an example.
*Insert image of Pages list and Home Page selection*
Once you’ve selected the page, look for the "Live Edit" button in the top-right corner. Clicking on this will take you to the page editor, where you can view and make changes to your live website.
*Insert image showing Live Edit button*
To begin adding your form, follow these steps:
*Insert image showing layout selection with Contact Us highlighted*
Hover your cursor over the form’s boundaries until you see a "Settings" icon.
Click on the "Settings" icon to open the Form Fields menu.
From here, you can:
*Insert image showing the form with editable fields*
Navigate to the "Auto Respond Settings" tab in the form editor.
Enable the option to send an automated response email.
Here, you can:
Example message:
"Thank you for reaching out! We’ve received your inquiry and will get back to you shortly."
*Insert image showing Auto Respond Settings panel*
Under the Contact Settings tab, you can:
*Insert image showing Contact Settings options*
Navigate to the Receivers tab in the settings.
Enable the option to send form data to custom email addresses.
Example: Add support@yourwebsite.com for customer inquiries.
*Insert image showing custom receiver email input*
The Advanced Settings tab includes:
*Insert image showing Advanced Settings options*
Go to the Templates section.
Browse designs under "Current Skin / Template".
Select a new design to instantly update your form’s look.
*Insert image of template selection interface*
With DevelopmentBucket Form Builder, creating and customizing forms is easy. Here’s a quick recap:
Make your forms live today and see how they can transform user interactions on your website!
DEVELOPMENT BUCKET